Moving Cells and Sections in Table Views
Problem
You want to move and shuffle cells and sections inside a table view, with smooth and intuitive animations.
Solution
Use the moveSection:toSection: method of the table view to move a section to a new position. You can also use the moveRowAtIndexPath:toIndexPath: method to move a table view cell from its current place to a new place.
Discussion
Moving table view cells and sections differs from exchanging them. Let’s have a look at an example that will make this easier to understand. Let’s say you have three sections in your table view: Sections A, B, and C. If you move Section A to Section C, the table view will notice this move and will then shift Section B to the previous position of Section A, and will move Section B to the previous position of Section B. However, if Section B is moved to Section C, the table view will not have to move Section A at all, as it is sitting on top and doesn’t interfere with the repositioning of Section B and C. In this case, Section B will be moved to Section C and Section C to Section B. The same logic will be used by the table view when moving cells.
To demonstrate this, let’s create a table view and preload it with three sections, each of which contains three cells of its own. Let’s start with the header file of our view controller:
#import <UIKit/UIKit.h>

@interface TableViewController : UIViewController <UITableViewDataSource, UITableViewDelegate>

@property (nonatomic, strong) UITableView *myTableView;
/* Each section is an array on its own, containing objects of type NSString */
@property (nonatomic, strong) NSMutableArray *arrayOfSections;
@end
Our view controller will become the data source of the table view. The table view has sections and each section has rows. We will keep an array of arrays; the first array is our array of sections, which will itself contain other arrays that contain our cells. The arrayOfSections defined in the header file of our view controller will bear that respon- sibility. Let’s go ahead and populate this array in the implementation of our view con- troller:
- (NSMutableArray *) newSectionWithIndex:(NSUInteger)paramIndex
withCellCount:(NSUInteger)paramCellCount {
	NSMutableArray *result = [[NSMutableArray alloc] init];
	NSUInteger counter = 0;

	for (counter = 0;
		counter < paramCellCount;
		counter++) {
		[result addObject:[[NSString alloc] initWithFormat:@"Section %lu Cell %lu", (unsigned long)paramIndex, (unsigned long)counter+1]];
	}

	return result;
}
We shall then instantiate our table view and implement the necessary methods in the UITableViewDataSource protocol to populate our table view with data:
- (NSInteger) numberOfSectionsInTableView:(UITableView *)tableView {
	NSInteger result = 0;

	if ([tableView isEqual:self.myTableView]) {
		result = (NSInteger)[self.arrayOfSections count];
	}

	return result;
}

- (NSInteger) tableView:(UITableView *)tableView numberOfRowsInSection:(NSInteger)section {
	NSInteger result = 0;

	if ([tableView isEqual:self.myTableView]) {
		if ([self.arrayOfSections count] > section) {
			NSMutableArray *sectionArray = [self.arrayOfSections objectAtIndex:section];
			result = (NSInteger)[sectionArray count];
		}
	}

	return result;
}

- (UITableViewCell *)tableView:(UITableView *)tableView cellForRowAtIndexPath:(NSIndexPath *)indexPath {
	UITableViewCell *result = nil;

	if ([tableView isEqual:self.myTableView]) {
		static NSString *CellIdentifier = @"CellIdentifier";
		result = [tableView dequeueReusableCellWithIdentifier:CellIdentifier];
		if (result == nil) {
			result = [[UITableViewCell alloc]
			initWithStyle:UITableViewCellStyleDefault reuseIdentifier:CellIdentifier];
		}

		NSMutableArray *sectionArray = [self.arrayOfSections
		objectAtIndex:indexPath.section];
		result.textLabel.text = [sectionArray objectAtIndex:indexPath.row];
	}

	return result;
}

- (void)viewDidLoad {
	[super viewDidLoad];

	_arrayOfSections = [[NSMutableArray alloc] init];
	NSMutableArray *section1 = [self newSectionWithIndex:1 withCellCount:3];
	NSMutableArray *section2 = [self newSectionWithIndex:2 withCellCount:3];
	NSMutableArray *section3 = [self newSectionWithIndex:3 withCellCount:3];
	[_arrayOfSections addObject:section1];
	[_arrayOfSections addObject:section2];
	[_arrayOfSections addObject:section3];

	self.myTableView =
	[[UITableView alloc] initWithFrame:self.view.bounds
	style:UITableViewStyleGrouped];
	self.myTableView.autoresizingMask = UIViewAutoresizingFlexibleWidth | UIViewAutoresizingFlexibleHeight;
	self.myTableView.delegate = self;
	self.myTableView.dataSource = self;
	[self.view addSubview:self.myTableView];
}
Show time! Shall we first have a look at how sections can be moved to a new position? Let’s write a method that will move Section 1 to 3:
- (void) moveSection1ToSection3 {
	NSMutableArray *section1 = [self.arrayOfSections objectAtIndex:0];
	[self.arrayOfSections removeObject:section1];
	[self.arrayOfSections addObject:section1];
	[self.myTableView moveSection:0 toSection:2];
}
I will leave it up to you to decide when you would like to invoke this method, as we don’t have a button on our UI at the moment. You can simply create a navigation controller, place a navigation button on it, and then invoke this method. Once you run the app normally, you will see the sections lined up from 1 to 3, as in Figure 4-13.
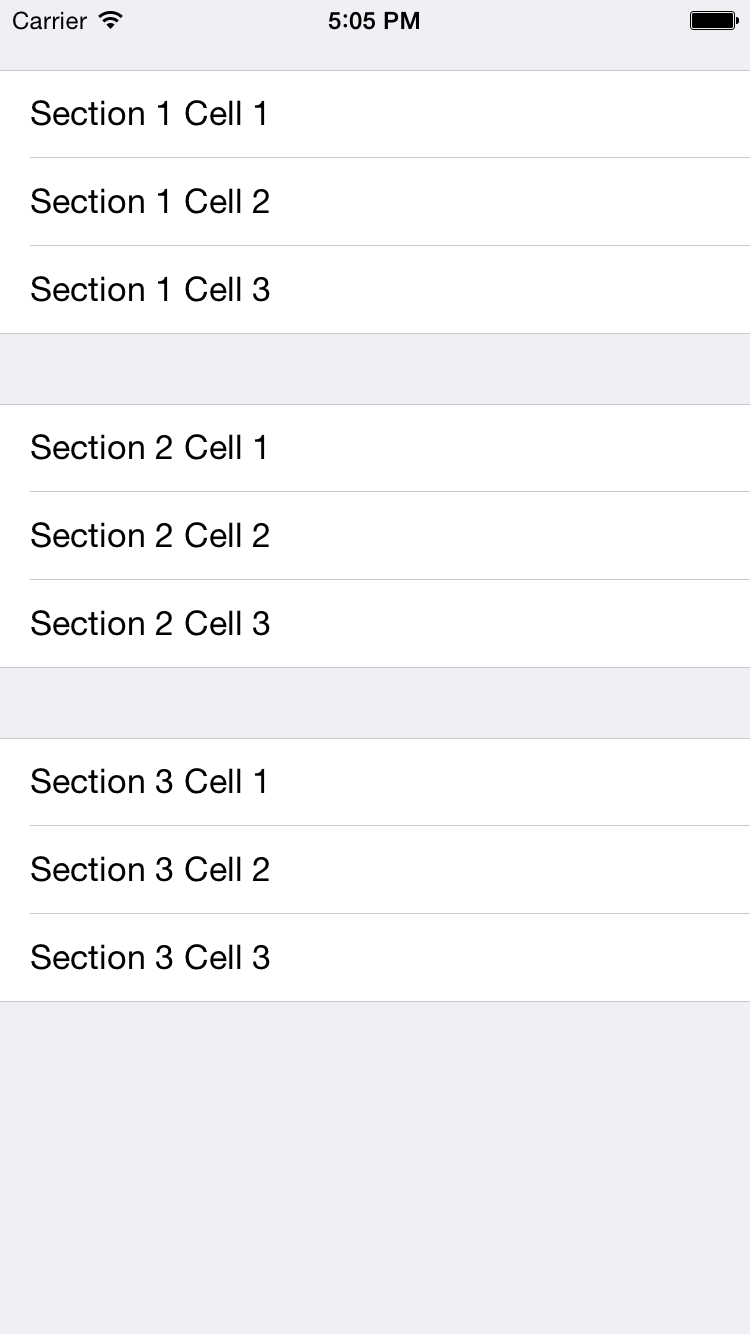
Figure 4-13. A table view with three sections, each containing three cells
After you invoke the moveSection1ToSection3 method, you will see that Section 1 gets moved to Section 3, Section 3 moves to Section 2’s previous position, and finally Section 2 moves to Section 1’s previous position (Figure 4-14).
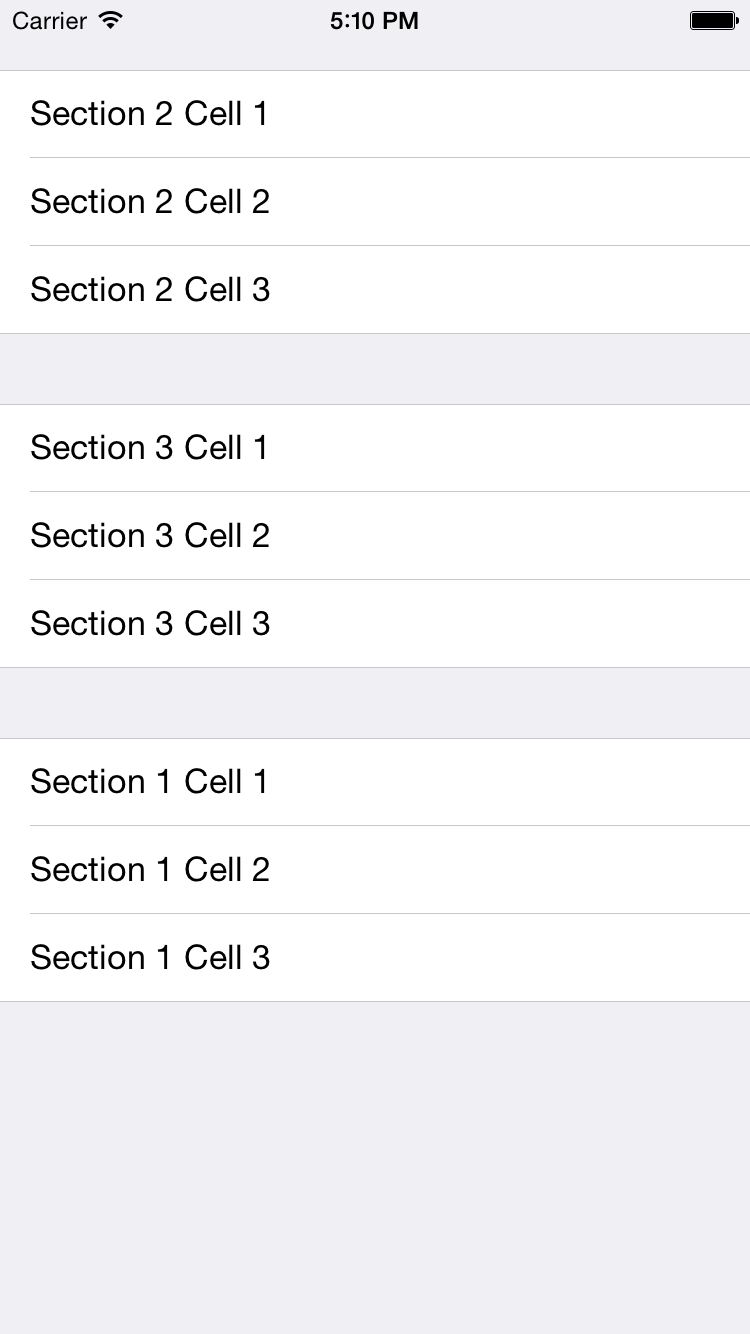
Figure 4-14. Section 1 is moved to Section 3, and other sections are subsequently moved as well
Moving cells is very similar to moving sections. To move cells, all we have to do is to use the moveRowAtIndexPath:toIndexPath: method. Remember that you can move a cell from one section to the same section, or to a new section. Let’s make it easy and move Cell 1 in Section 1 to Cell 2 in the same section and see what happens:
- (void) moveCell1InSection1ToCell2InSection1{
	NSMutableArray *section1 = [self.arrayOfSections objectAtIndex:0];
	NSString *cell1InSection1 = [section1 objectAtIndex:0];
	[section1 removeObject:cell1InSection1];
	[section1 insertObject:cell1InSection1 atIndex:1];
	NSIndexPath *sourceIndexPath = [NSIndexPath indexPathForRow:0 inSection:0];
	NSIndexPath *destinationIndexPath = [NSIndexPath indexPathForRow:1 inSection:0];
	[self.myTableView moveRowAtIndexPath:sourceIndexPath toIndexPath:destinationIndexPath];
}
So what is going on in this code? Well, we need to make sure our data source holds the correct data that needs to be displayed in our table view after we have moved the cells around, so we remove Cell 1 in Section 1 first. That moves Cell 2 to Cell 1, and Cell 3 to Cell 2, with a total of 2 cells in the array. Then we will insert Cell 1 into Index 1 (second object) of the array. That will make our array contain Cell 2, Cell 1, and then Cell 3. After that is done, we have actually moved the cells in our table view.
Let’s make this a bit more difficult. How about moving Cell 2 in Section 1 to Cell 1 in Section 2?
- (void) moveCell2InSection1ToCell1InSection2{
	NSMutableArray *section1 = [self.arrayOfSections objectAtIndex:0];
	NSMutableArray *section2 = [self.arrayOfSections objectAtIndex:1];
	NSString *cell2InSection1 = [section1 objectAtIndex:1];
	[section1 removeObject:cell2InSection1];
	[section2 insertObject:cell2InSection1 atIndex:0];
	NSIndexPath *sourceIndexPath = [NSIndexPath indexPathForRow:1 inSection:0];
	NSIndexPath *destinationIndexPath = [NSIndexPath indexPathForRow:0 inSection:1];
	[self.myTableView moveRowAtIndexPath:sourceIndexPath toIndexPath:destinationIndexPath];
}
The results of this transition are shown in Figure 4-15.
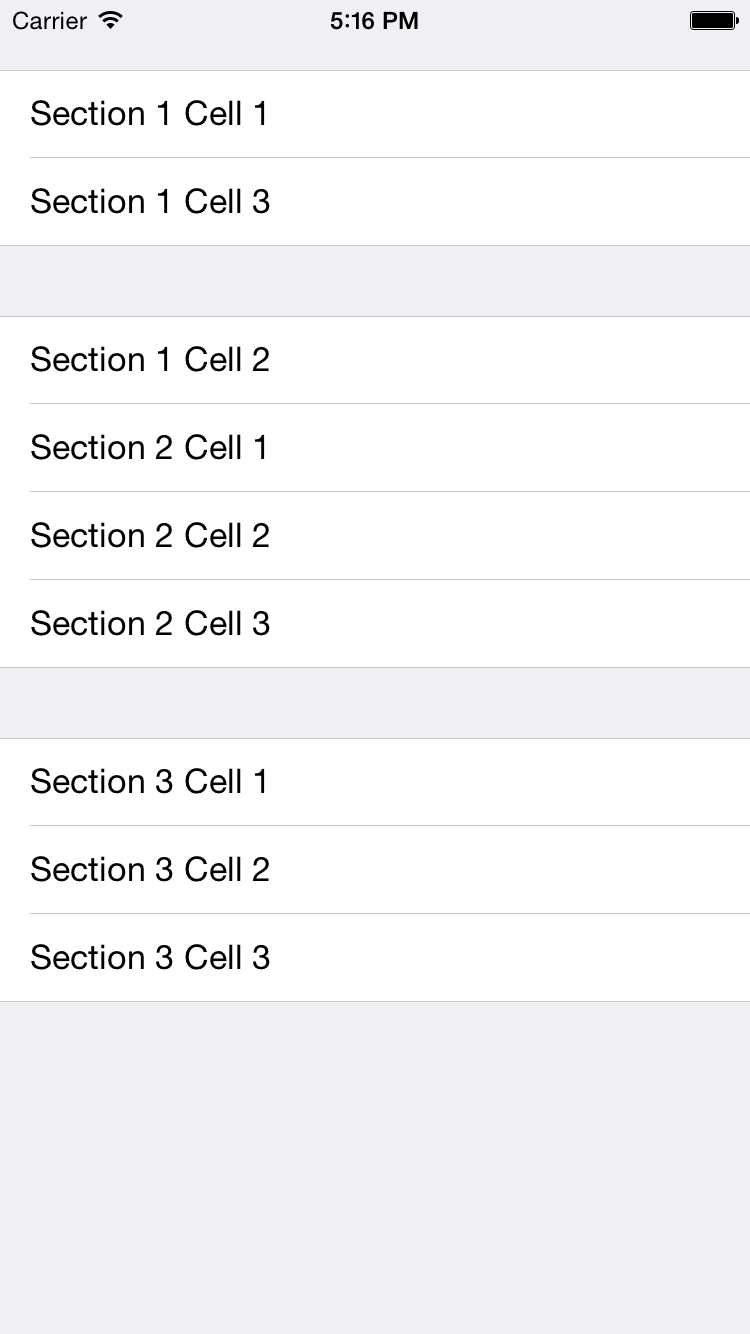
Figure 4-15. Cell 2 in Section 1 is moved to Cell 1 in Section 2